Controller Drift: What It Is and How to Fix It
23 August 2026
You’re deep into a game. Maybe you're lining up that perfect headshot, drifting through a tight corner in a racing game, or stealthily sneaking past enemies... and then it happens—your character starts moving on their own. No, it's not a ghost. It's dreaded controller drift.
If you're a gamer, chances are you’ve either dealt with controller drift or know someone who has. It’s one of the most annoying issues that can strike your gaming setup, and it doesn’t care if you use a PlayStation, Xbox, Nintendo Switch, or even PC controller.
In this guide, we’re diving deep into what controller drift actually is, what causes it, and most importantly—how you can fix it (and prevent it from happening again). So buckle up, because we’re about to fix that wandering joystick of yours.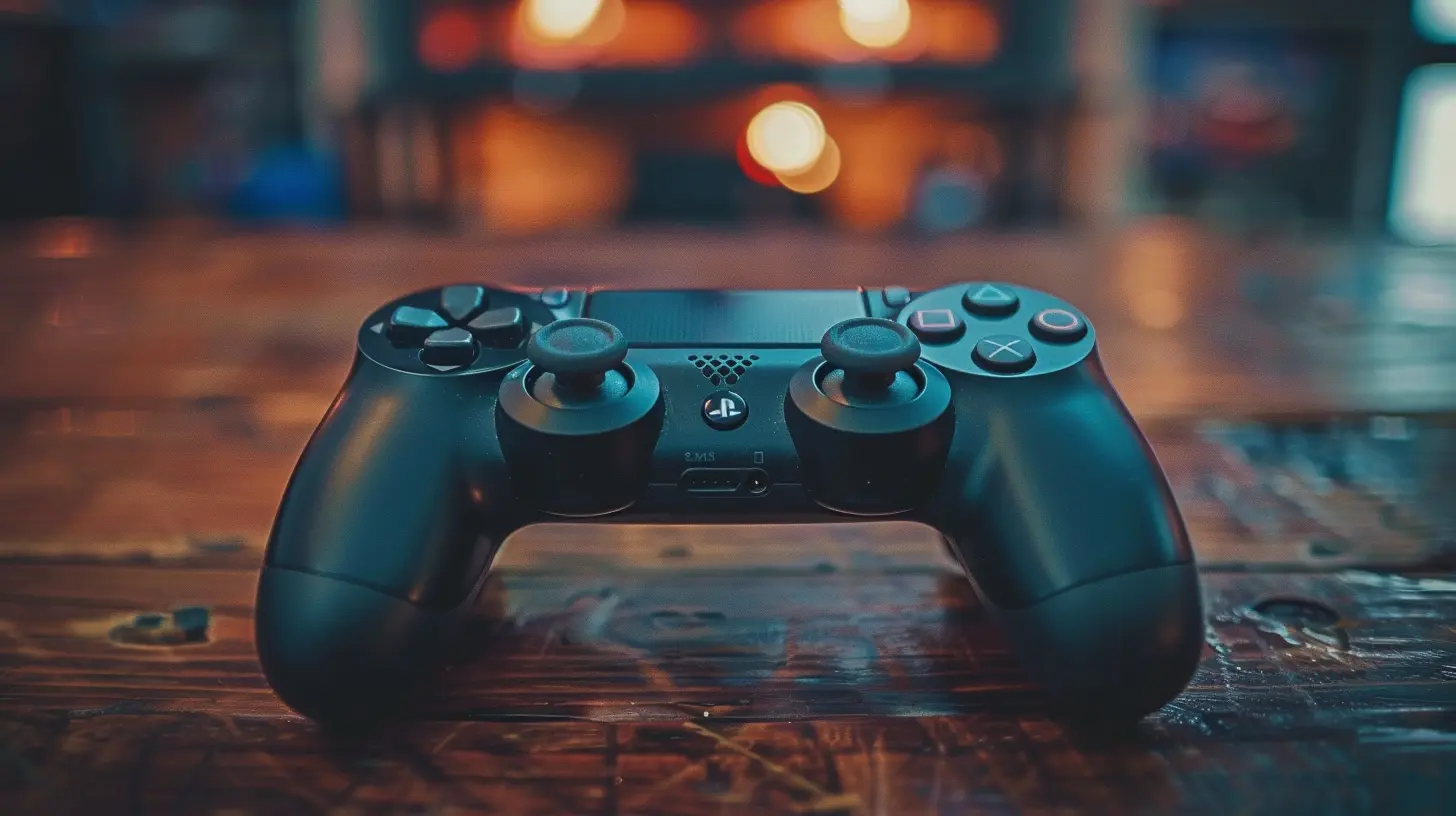
What Is Controller Drift?
Let’s break it down in plain English. Controller drift happens when your joystick (usually the left one, but sometimes the right) starts sending movement signals to your console or PC without you touching it. In simple terms: your character or cursor moves like it’s got a mind of its own.It’s kind of like your car veering left even though you’re driving straight. Annoying, right? And just like with a misaligned car, your gaming experience suffers big time.
How Do You Know If You Have Controller Drift?
There’s a few unmistakable signs of controller drift:- Your character moves even when you’re not touching the joystick.
- Menus scroll on their own.
- Aiming feels off or jittery during games.
- Racing games constantly pull you to one side.
Notice any of these? Then, yeah, you’re probably dealing with controller drift.
What Causes Controller Drift?
Okay, so you know what it is—but what's behind this frustrating glitch?Well, there are a few main culprits. Let's get into it.
1. Dirt and Debris
Yep, good old gunk. Tiny particles of dust, dirt, skin oils, and even snack crumbs can get lodged underneath your analog stick. Over time, this buildup interferes with the sensors that detect stick movement.It's like having a pebble stuck in your shoe—it’s small but mighty annoying.
2. Worn-Out Components
Inside your controller are little devices called potentiometers. They measure the position of the analog stick. But as you might’ve guessed, they wear out over time—especially if you game a lot.It’s like wearing down the treads on a tire. The more you use it, the less grip it has. Same logic here.
3. Stick Misalignment
If you’ve ever squeezed your controller too hard (thanks, Dark Souls), dropped it, or chucked it during a fit of gamer rage, there’s a chance you bent or slightly dislodged the analog stick.Even a small amount of misalignment can throw off the sensor readings.
4. Software Calibration Errors
Sometimes, it’s not even a physical thing. Your console or PC can misread stick inputs due to calibration errors. Maybe a recent update screwed something up, or you accidentally touched the stick during an initial setup.
Controllers Commonly Affected by Drift
No controller is truly safe, but here are the top offenders when it comes to drift:Nintendo Switch Joy-Cons ?
Probably the poster child for drift in recent years. The Joy-Con drift issue exploded online with mass complaints, lawsuits, and tons of DIY fixes floating around.PlayStation DualShock 4 & DualSense ?
Older models of the DualShock 4 were especially prone to drift after heavy use. The newer PS5 DualSense? Still not perfect.Xbox One and Series X/S Controllers ?
Less frequent than Joy-Cons and PlayStation controllers, but drift still happens. Usually after extended gaming sessions or rough handling.Third-Party Controllers ?
Let’s be honest: cheaper, third-party controllers are more likely to drift. The build quality just isn't the same. You get what you pay for.How to Fix Controller Drift
Now for the part you’ve been waiting for: fixing it. Here's a step-by-step guide depending on how bad the drift is.Quick Fixes (No Tools Needed)
1. Clean Around the Stick
Sometimes dirt is the only problem.- Turn off the controller.
- Grab a soft-bristled brush or a can of compressed air.
- Gently clean around the base of the analog stick.
You can also use a cotton swab slightly dipped in isopropyl alcohol. Gently rotate the stick while rubbing the base. Just don’t use too much moisture.
2. Recalibrate Your Controller
This is different depending on your system:- Nintendo Switch: Go to Settings > Controllers & Sensors > Calibrate Control Sticks.
- PS4/PS5: No in-built option. Use a PC or reset the controller manually.
- Xbox: Try the Xbox Accessories App via PC or console.
Sometimes, all it takes is a recalibration to fix minor issues.
Intermediate Fixes (Some Tools Required)
3. Reset the Controller
Turn the controller over and look for the tiny reset button (you’ll need a pin or paperclip). Press and hold it for a few seconds. This can clear out weird software bugs.4. Update Firmware
Connect your controller to the console or PC and check for firmware updates. System updates sometimes include controller patches.5. Open and Clean Internally (Warning: Risky)
If you’re feeling brave, you can open up your controller. You’ll need:- A precision screwdriver set
- Isopropyl alcohol (90% or higher)
- Cotton swabs
- Tweezers (optional)
Carefully open the shell, locate the analog stick components, and clean any visible gunk inside. Be cautious—you void warranties and risk damaging components.
Advanced Fixes (For the Tech-Savvy)
6. Replace the Analog Stick
If the potentiometer is completely worn out, the only long-term solution is replacing the analog stick module.- You’ll need soldering skills and a replacement stick.
- Not for beginners.
- YouTube is your best friend here, with tons of tutorials.
Or you could just...
Consider Professional Repair or Replacement
Sometimes, it's just not worth the hassle. If you're dealing with Joy-Con drift, Nintendo offers free repairs in some regions. PlayStation and Xbox have warranties too. Always check if your controller is still under warranty.If not, you might be better off buying a new controller—especially if repairs cost nearly the same.
Tips to Prevent Drift in the First Place
Let’s talk prevention—because fixing drift every few months isn’t a fun hobby.1. Handle with Care
Treat your controller like a delicate flower. No rage-throwing, no overpressing the sticks. Save your rage for in-game enemies.2. Clean Your Hands Before Playing
Oils, crumbs, and dirt from your hands = gunk buildup inside the controller. Keep it clean.3. Store Controllers Properly
Don’t leave them on the couch where they might fall. Don’t shove them into tight drawers. Use a controller stand or case.4. Regular Maintenance
Every couple of weeks, do a basic cleaning. Wipe the case, clean around the sticks, and check for updates.Final Thoughts
Controller drift sucks, plain and simple. But now that you understand what it is, why it happens, and how to fix it, you can save yourself from hours of frustrating gameplay. Whether you prefer a quick clean or diving into a full-blown repair, the power is in your thumbs (literally).And hey, if all else fails, there’s nothing wrong with treating yourself to a new controller. Just keep it clean this time, alright?
Happy gaming—minus the drifting.
all images in this post were generated using AI tools
Category:
Game ControllersAuthor:

Francesca West
Discussion
rate this article
1 comments
Sandra Malone
Controller drift can be incredibly frustrating, especially during intense gaming sessions. It's good to see an article addressing the issue and offering practical solutions. I'm definitely going to try these tips.
September 11, 2026 at 3:17 PM
Francesca West
Thanks for the feedback! I'm glad you found the tips helpful. Good luck with your gaming!